
Custom Import
When most Sales reps receive their Leads in an Excel format they typically are given something similar to what we have below. With some cleaning up this data can be easily brought into SalesNOW using the Custom import.
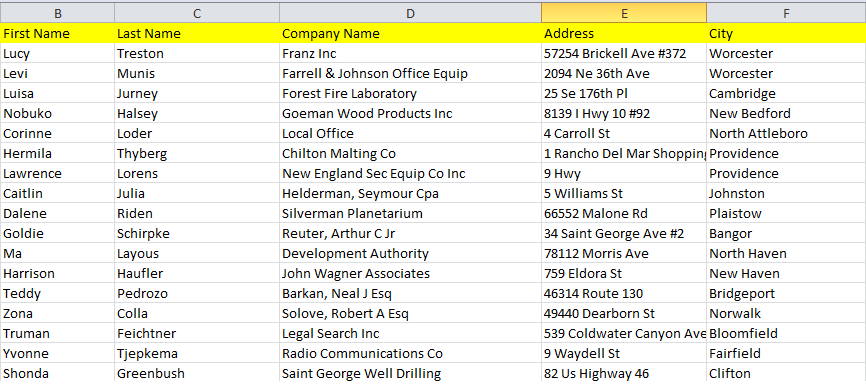
Step 1: Clean Up Data
1. When cleaning up the data make sure that no two fields are merged into any one cell (Ie. First Name and Last name in a single cell)
2. Each column in the sheet needs to have a header. If possible, have the header match the exact field name found in your SalesNOW account. For example if you have the field 'Mobile Phone #' in SalesNOW, make sure that in your Excel sheet you give it the same title instead of using 'Cell' or 'Cellphone'.
3. Delete any columns with invalid or irrelevant information. There can be no column without data, between two columns with data.
4. Each row of data must contain the same amount of new records. For, example if you are importing Contacts/Companies/Leads, then each row in the spread sheet must have a Contact (Minimum requirement= Last Name), a Company (Minimum requirement= Company Name) and a Lead (Minimum Requirement= Lead Name)
5. Save your changes to the Excel spreadsheet.
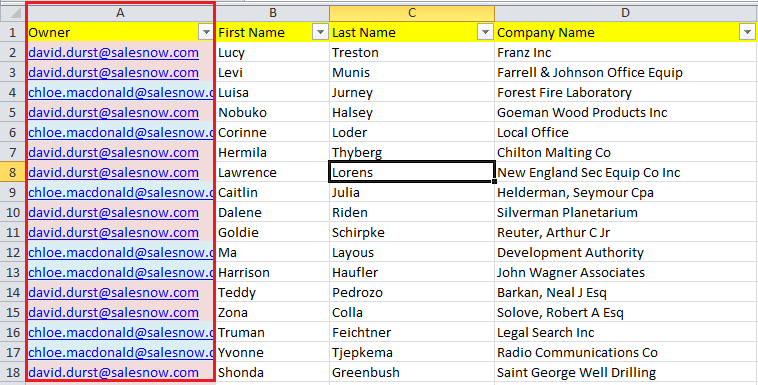
Step 2: Add the Owner
Once data has been cleaned up insert a brand new column into column A and title it Owner. Then paste the username of the record owner into each row with data. Note that you can have multiple owner names appear in a single import. These Owners must be users in SalesNOW.
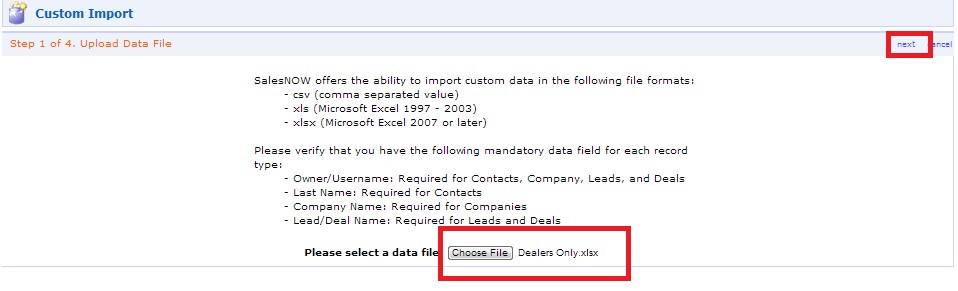
Step 3: Data Management
The next step is to login to the SalesNOW account and visit Setup > Data Management > Custom Import, Select Choose file and locate the Custom spreadhsett that you will be importing and select Next.
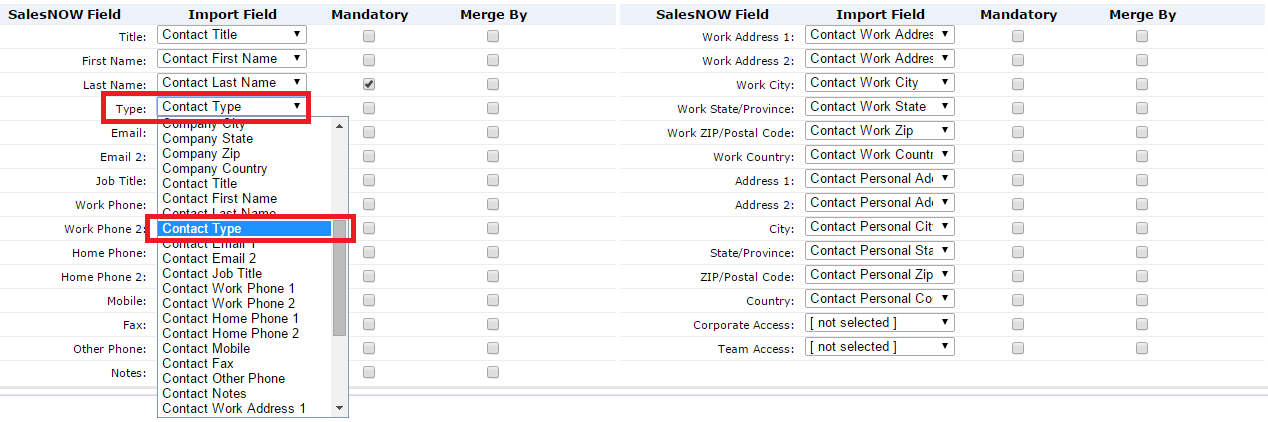
Step 4: Data Mapping
You can now choose the types of records that you will be bringing in. For example, if you are importing Contacts and Companies only, be sure to only select these two record types. Next, you will be asked whether you would like to Enable Auto-Mapping . The Auto-Mapping tool can save you a great deal of time by mapping the headers in Excel to Fields in SalesNOW. To enable Auto Data Mapping select Yes from the drop-down.

Next, go through the fields and make sure that everything has been mapped correctly. If a field is empty or has been incorrectly mapped, manually select it from the drop down list. Once all the fields in the spreadsheet have been mapped against fields in the system select Next at the top right hand followed by Import.
?Note: If you are importing Lead or Deal data the system will ask if you would like to schedule calls against these Lead records. By selecting Yes the tool will request that you provide a period of time where these calls can be scheduled and then schedule a Call record for that Lead within the specified time period
Step 5: Trouble Shoot
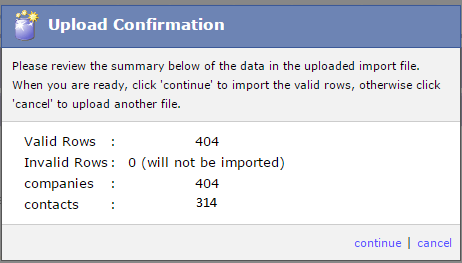
?The system will now attempt to bring in the template data. After a loading period the system will then display an Upload Confirmation, summarizing the import. If there are any issues with the data the Upload Confirmation window will return a list error messages describing the issue(s) at hand. Users that receive these error messages should download the list and apply any necessary changes to the Spreadsheet Template, re-save the file and attempt to upload once again. If there are no error messages, simply select Continue on the Upload confirmation page.
Step 6: Check Import Status
You can always check the status of your Import by selecting setup > Data Management > Import Progress
If you encounter any issues, send an email to support@salesnow.com and a member of our tech team will be happy to assist.